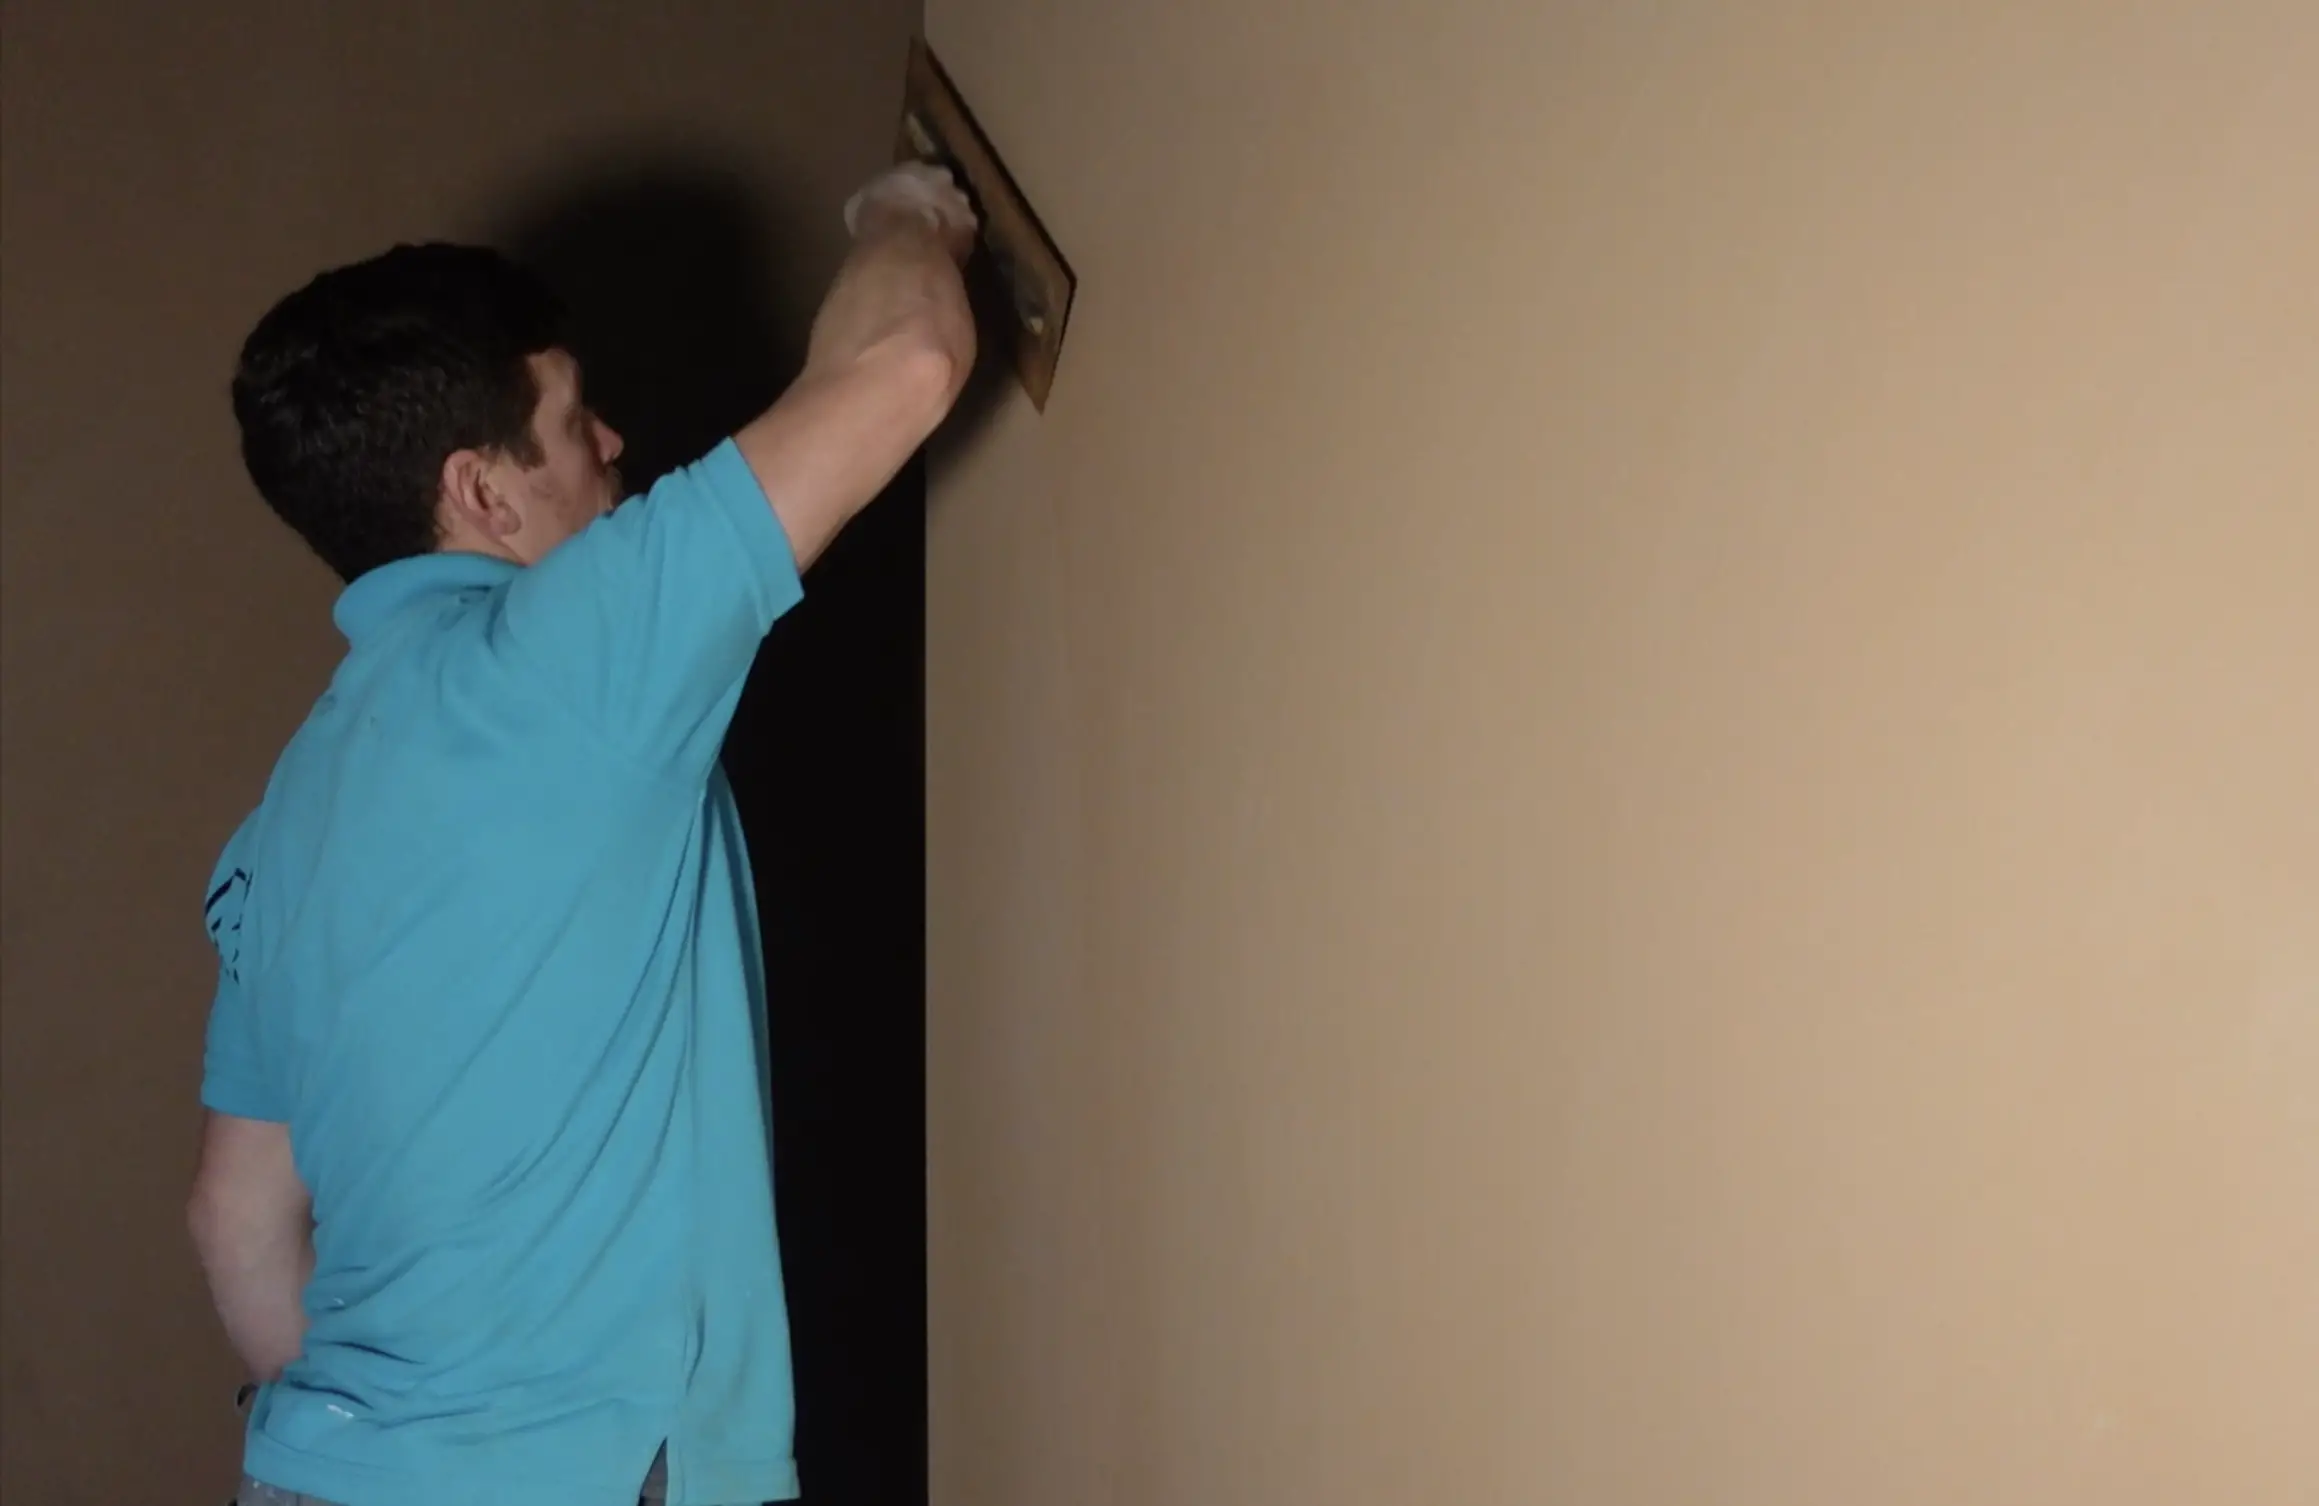
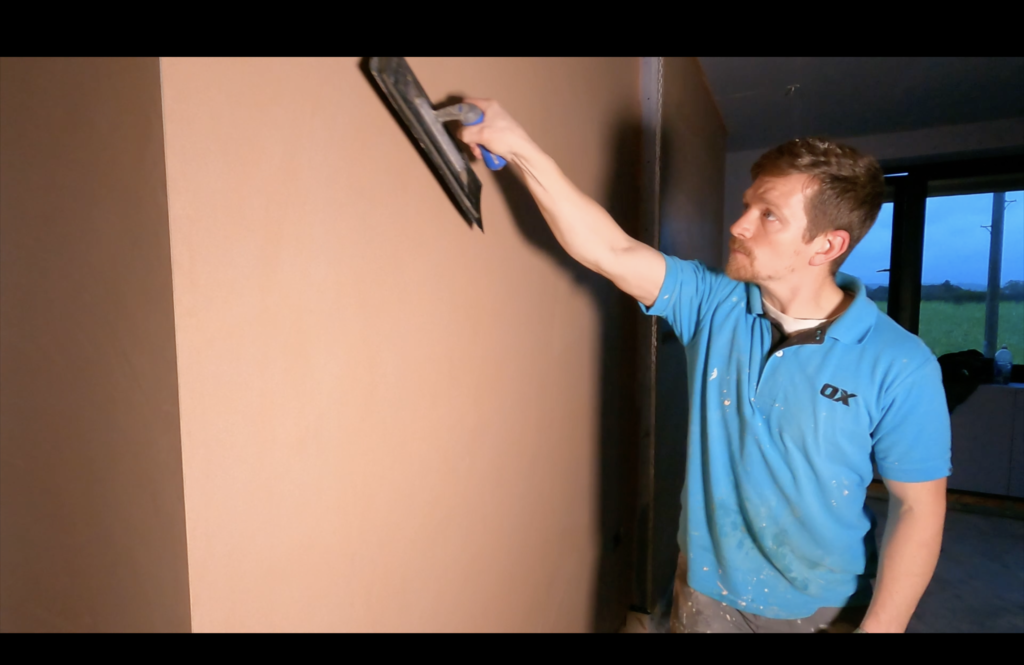
Today we’re going to make you a MASTER PLASTERER. I’m going to show you the 10 Golden Rules of plastering. Each Rule provides a new plastering skill for you to learn – some are easy. Others take a bit more practice.
But I can guarantee that if you follow and learn these plastering skills then you will become a great plasterer. And the best way to explain them is by showing you!
The video below outlines the 10 Golden rules of plastering. I’ll show you the 10 plastering skills that make me the plasterer I am today…and I’ll spill all the beans! Trust me, if you use the information in this video then you will get REALLY good at skimming walls. Check it out below:
10 Golden Rules Of Plastering
Here’s The 10 Plastering Skills I outline in this video. I’ll give you a brief summery and then explain each one:
- Preparation Masterclass
- Apply Your Plaster FLAT
- Take What You NEED
- Follow The Bead
- The Constant Trowel
- Keep Your Trowel Clean
- Cross Trowelling For FLATTER WALLS
- Protection
- Clean Your Angles
- Flat And MATTE Finish (AVOID THE SHINE)
These are the 10 skills I’ll reveal in this video. Let’s go through them:
Plastering Skill #1 Preparation
The most important part to plastering is your preparation. You could be the best plasterer in the world but if your beads don’t line up and the scrim tape isn’t applied then your wall will never meet.
It will crack and the beads will create CHAOS if they slip. So the most crucial part to plastering starts with your prep. Make sure you take your time and learn to prepare correctly. That’s the First Plastering Skill you need to master.
#2 Apply Your Plaster Flat
We’ll show you the crucial steps you need to learn for getting your plaster flat from STAGE 1. Admittedly, this step takes some practice. but I can assure you that if you get this right then it will make your plastering life 10x easier.
It’s a real game changer…it just takes practice. I’ll reveal all in the video above
#3 Take What You Need
This is a simple concept but very powerful. If you have a small area or a small reveal then you don’t need a full trowel of plaster. I’ll show you simple techniques for “cutting the plaster”. This helps you get small amounts of plaster at a time.
I know it sounds simple but this little hack reduces mess, stops humps occurring and helps develop control. And once mastered, this plastering skill will help you become an all-round better spread.
#4 Follow The Bead
When your plastering, always follow the direction of the beads. So if you have a bead running horizontally then apply and flatten the plaster along the same direction. This stops dips and humps from setting on the bead.
This also means you’ll get flatter walls with better results.

#5 The Constant Trowel
This is a tough one and this will take some practice. The idea is simple – when you’re flattening your plaster you don’t lift the trowel from the wall. It’s best to see it but when you come to the top of your movement when trowelling, simply tilt the trowel 10 degrees.
This allows you to come back on yourself and trowel in the opposite direction. You don’t lift your trowel from the wall and you can flatten your walls flat in half the time. This is a real time saver and guaranteed to save time. It’s a must for anyone who’s serious about plastering.
#6 Keep Your Plastering Trowel CLEAN
This is simple but CRUCIAL. Always clean the excess plaster from your trowel. The plaster you collect from your walls can harden and if it’s not removed, then the residue can create streaks in your plaster.
We call this “Tiger Stripes.” It’s very hard to remove once you get these in your walls and they can really destroy your results. But simply cleaning your plastering trowel can reduce this massively. It sounds simple but it’s a skill you can’t avoid in plastering.
#7 Cross Trowel For Flatter Walls
A lot of plasterers just flatten and apply their plaster one way. But the best way to get flatter walls is to flatten your plaster both ways. This is where the Cross Trowel comes in. Flattening your plaster ACROSS the wall towards the later stages reaps massive results.
Trowelling both ways will give you flatter walls and better results. A lot of plasterers avoid this but it’s a plastering skill you can’t afford to miss.

#8 Protection
This one’s for you. Wear your knee pads, wear eye protection and mask up when mixing. I know it’s a pain but it’s not worth any future damages – it takes nothing to protect yourself.
#9 Clean Your Angles
The most important part of a plastered wall are your angles. Clean angles are extremely important and not that hard to achieve. That’s if you catch them at the right time.
I’ll show you a little hack for filling and cleaning your internal angles which will make your corners look CRISP.
Get this wrong and it’s very hard to fix. That’s why this plastering skill is a MUST for all spreads.
#Plastering Skill #10 Flat And Matte
This last one is very easy. I like to use a plastic trowel for my final trowel in plastering. This provides a nice flat, matte finish which is great for you and the painter. Super shiny walls aren’t good – the paint just slides right off.
But if you can use a plastic trowel then it won’t make your walls too smooth. It provides the perfect finish for the later tradesmen which means an all round better finish.
Discover More Plastering Skills Below…
And that’s it. That’s the 10 Plastering Skills you need to learn to become a better plasterer. But if you’re looking for an complete guide to plastering then click this link here.
I’ll show you the full process to plastering. I’ll explain the 7 Steps To Plastering, reveal the perfect mix and even provide a detailed guide to applying plaster, essential for beginners. find out more from the link below:
https://plasteringforbeginners.co.uk/plastering-class
For more detailed videos in plastering then you can also check out our Youtube Channel. It’s perfect for anyone who’s keen to plaster. Check it out from this link here
